Last week I demonstrated how to create a custom Microsoft Windows XP setup ISO optimized for installation in a virtual machine environment using nLite (The how-to can be found here.). We started with an approximate 500 MB ISO and removed components/services using the nLite utility and pared that down to less than 80 MB. This week I’ll show you how well the unattended install works in VirtualBox and the benefits of doing so.
If you haven’t done so yet, head over to the VirtualBox website and get the binaries needed installed:
https://www.virtualbox.org/wiki/Downloads
Now that we’ve got our optimized XP ISO created and VirtualBox installed, let’s see how well this image works…fire up your copy of VirtualBox and click New (Ctrl-N) to start the Create Virtual Machine Wizard.
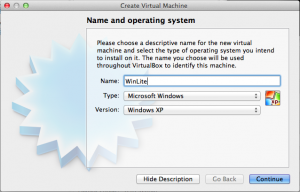
Name your VM and click Continue (make sure you select Windows XP for the OS Version)
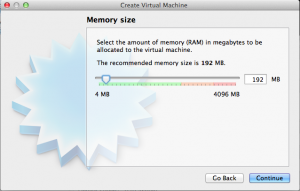
The default of 192 MB here is sufficient for this optimized image…click Continue
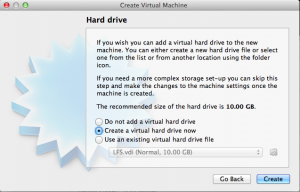
Select Create a virtual hard drive now and click Create
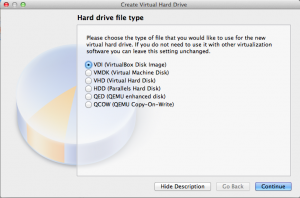
Select VDI (VirtualBox Disk Image) and click Continue
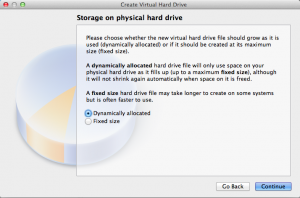
Leave this at default (Dynamically allocated) and click Continue
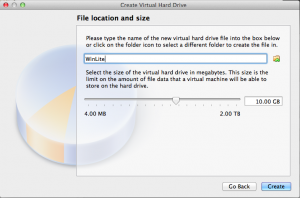
The defaults here make sense (10 GB is more than enough and will actually take much less room since we previously chose dynamically allocated)…click Create
This brings us back to the VirtualBox Manager interface:
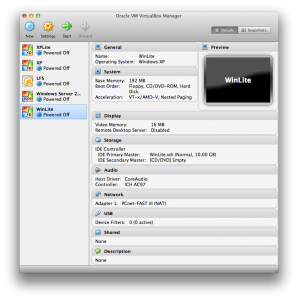
In the right pane we can start making selections to modify the hardware to our liking…let’s start by clicking the Audio section
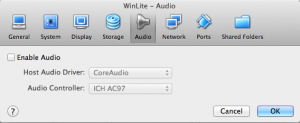
Uncheck Enable Audio since we really don’t need it for our VM and it’ll free up resources…click OK
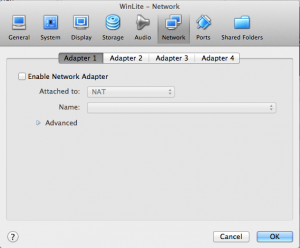
Click on the Network section on the right and uncheck Enable Network Adapter since we don’t need internet on this VM and click OK
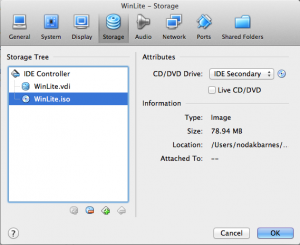
Click on the Storage section on the right and Select the WinLite ISO (see this howto) to boot from by clicking the CD icon under the Storage Tree section on the left (this selects IDE Secondary) and then click the CD icon under Attributes on the right side and browse to and select your ISO image…click OK
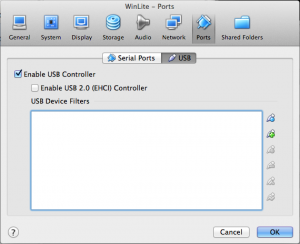
Click on the USB section on the right and uncheck Enable USB 2.0 (EHCI) Controller (the original version of Windows XP does not have drivers for this)…click OK
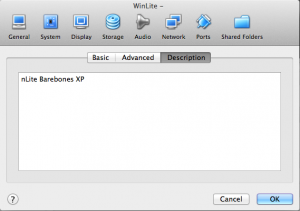
Click Description on the right side and add a description…click OK
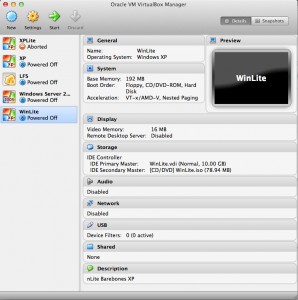
And see below for what it should all look like in the VirtualBox Manager when we’re finished:
Continue to the next page where I fire this baby up and see what she can do!