Would you like to build Linux From Scratch but are unsure of the optimum environment in which to do so? If so, then this how-to is for you. I’ll be showing you how to install a customized Slackware Linux virtual machine that you can utilize in your LFS adventure. The advantage of doing this in a VM is that you leave your base OS untouched and can easily revert to prior images or even start again from scratch (no pun intended) if needed. So roll up your sleeves, grab a cup of Joe or a pint, and get ready to get your geek on.
Prerequisites:
First things first of course is to become familiar with the LFS book. If you really want to know what goes on under the hood of Linux, this is where to start. Once you’re finished building your own Linux From Scratch it’s a very satisfying feeling to see it boot. (Essential Pre-reading)
Next download the latest Slackware Linux ISO. All you need is the first DVD. I recommend if this is your first trip down the LFS hole that you go with the 32-bit version.
And finally download and install the VirtualBox binaries.
To facilitate this process, let’s break it down into the following stages which we’ll cover sequentially:
- Create VirtualBox host VM
- Tweak/Optimize VM
- Install host OS (Slackware)
- Connect LFS Drive and Final Setup
Creating the VirtualBox Host VM
Now let’s take a look at how to create an LFS build environment using Slackware as the host in a VirtualBox VM:
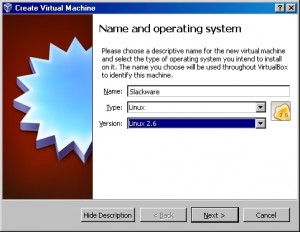
Select Linux 2.6 as Slackware is not an option…click Next
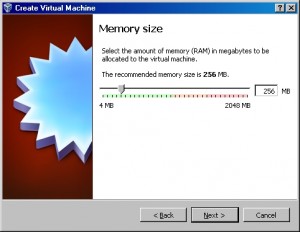
The default of 256 MB of memory is more than sufficient for LFS and Slackware…click Next
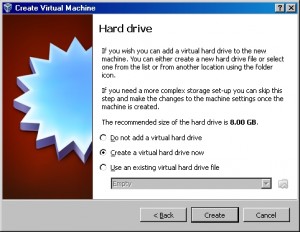
Select Create a virtual hard drive now and click Create
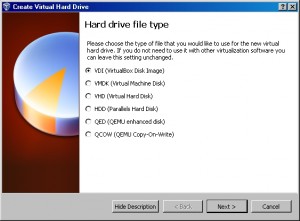
Select VDI (VirtualBox Disk Image) as drive type and click Next
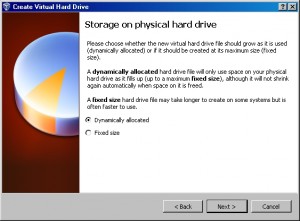
Select Dynamically allocated and click Next
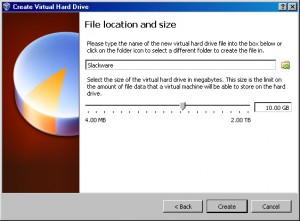
Up the drive size to 10 GB to give us a little breathing room (don’t worry it’s dynamically allocated so this is just the maximum it will grow to) and click Create
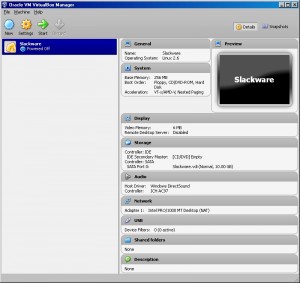
And now our basic LFS VM is ready for use…throttle back though, there’s more optimization that needs to be done before we install our Slackware LFS host VM.
Continue to Tweaking/Optimizing the VM