Installing the Host OS (Part 3)
Start up the Slackware VM and login as root:
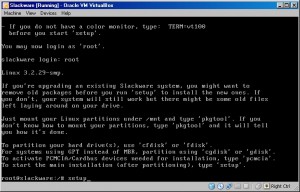
Type setup and press enter to begin the Slackware setup
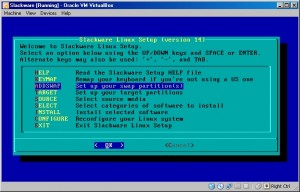
Arrow down to ADDSWAP and press enter to select the swap partition
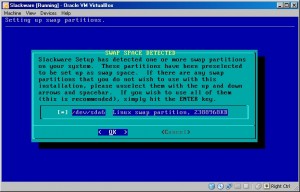
The swap partition (/dev/sda6) should be auto detected…select OK
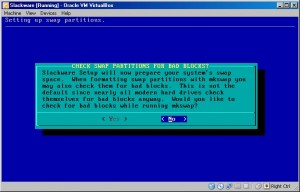
No need to check the swap…select No
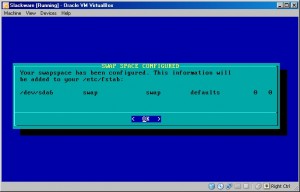
Looks like the swap partition is configured…select OK
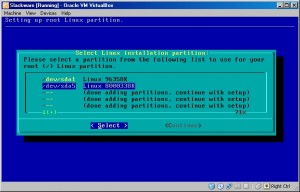
Arrow down and select the root partition (/dev/sda5)
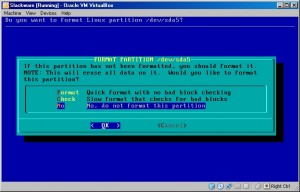
No need to format as we did that earlier so arrow down to No and select OK
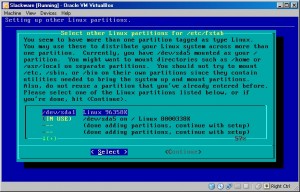
Time to tell Slackware what to do with the other partition we have…select /dev/sda1
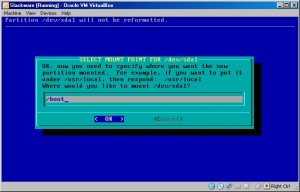
Type /boot for the mount point and select OK
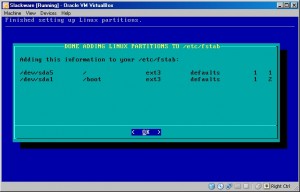
Now Slackware is aware of all our partitions and where to mount them
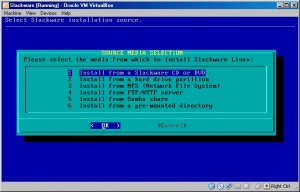
Option 1 (Install from a Slackware CD or DVD) works as our Slackware source so select OK
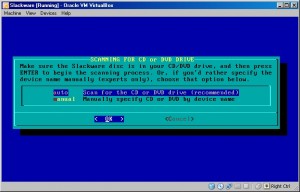
Let setup auto-scan for the DVD and select OK
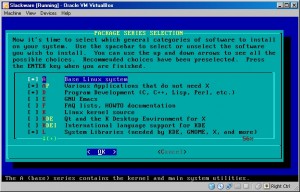
The only package series required for a solid LFS host are as follows:
- A – Base Linux system
- AP – Various Applications that do not need X
- D – Program Development
- L – System Libraries
- N – Networking
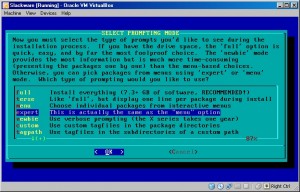
Arrow down to expert and select OK
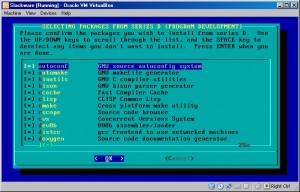
These pages prompt for packages to install from the different series…to make this as painless as possible (and since the host OS is temporary anyway) keep all packages for all series selected and just select OK
The packages from the selected series are now installed…this may take a while so be patient…
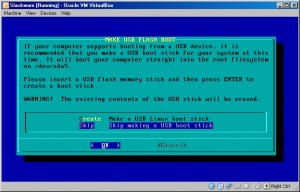
Skip making the USB boot disk and select OK
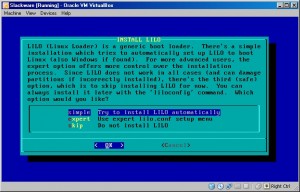
Let the setup try to install LILO automatically and select OK
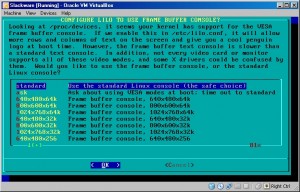
Leave the framebuffer at standard and select OK
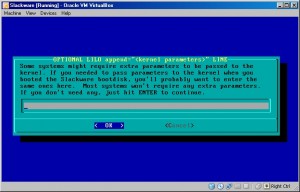
No need to pass any parameters to the kernel so leave blank and select OK
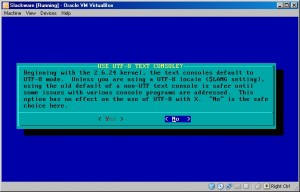
Be safe and select No for UTF-8 console
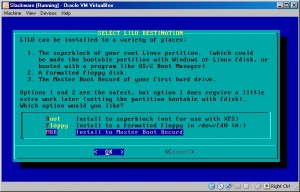
Install LILO into the MBR and select OK
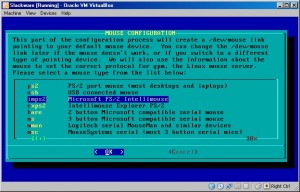
Stay with the default imps2 (Microsoft PS/2 Intellimouse) and select OK
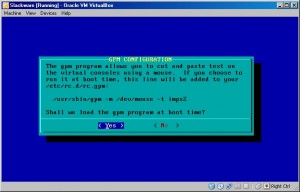
Have setup load the GPM program at boot time…select Yes
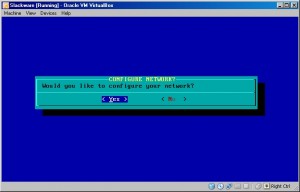
Select Yes to setup the network
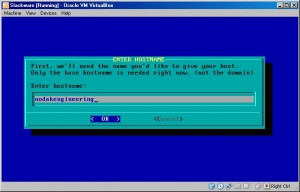
Type whatever you want for a Hostname and select OK
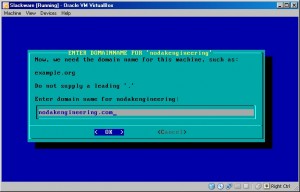
This is optional…leave blank if you want and select OK
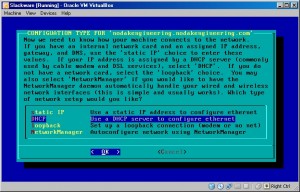
Leave network type as DHCP and select OK
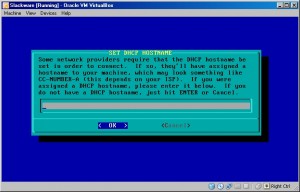
Leave DHCP Hostname blank and select OK
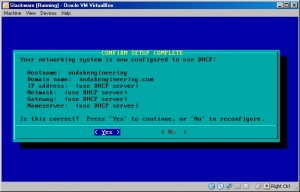
If everything looks good here just select Yes
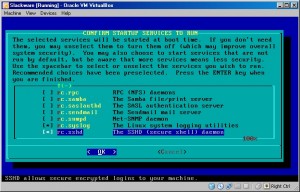
Startup services defaults should be fine (just make sure rc.sshd is selected)…select OK
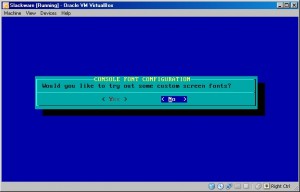
No need for custom screen fonts…just select No
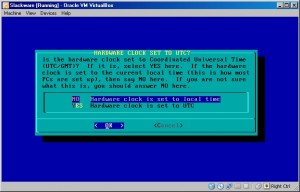
Leave as NO (Hardware clock is set to local time) and select OK
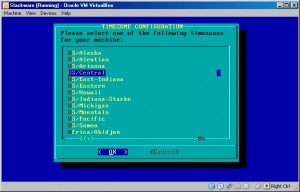
Select your timezone and then OK
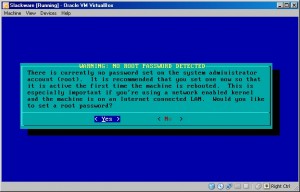
Set the root password
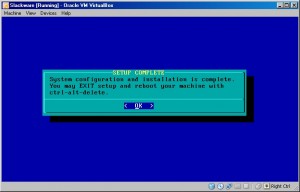
Almost there!
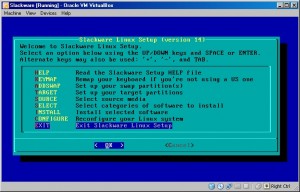
Arrow down to EXIT and select OK
At the Linux console just type poweroff and take a break…