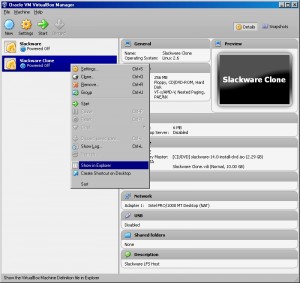
Now that we have our Slackware host VM partitions set up, why not use that as a template for the LFS hard drive…to do so, shut down the VM (just type poweroff at the linux command prompt) and we’ll clone it:
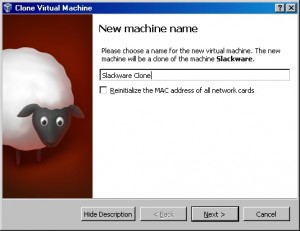
Slackware Clone
In the VirtualBox VM Manager right-click on the Slackware VM and select Clone from the drop-down menu
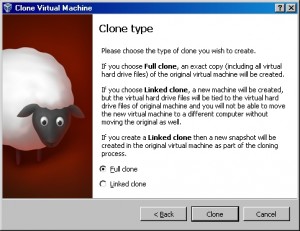
Clone type
Select Full clone and click Clone
Show in Explorer
Right-click on the newly created clone and select Show in Explorer from the drop-down menu
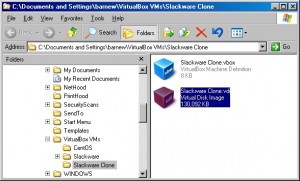
Slackware Clone VDI
Drag and drop the Slackware Clone.vdi onto your desktop
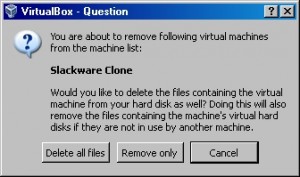
Slackware Clone Delete
Now that we’ve got our cloned VDI, right-click on the Slackware Clone VM in the VirtualBox VM Manager and select Remove from the drop-down menu and then select Delete all files from the combobox
Now rename the Slackware Clone.vdi on the desktop to something more appropriate, like LFS.vdi (we’ll attach it to our VM after we get our Slackware host installed.
LFS Build Environment (Page 4)
Installing the Host OS (Part 2)
Now that we have our Slackware host VM partitions set up, why not use that as a template for the LFS hard drive…to do so, shut down the VM (just type poweroff at the linux command prompt) and we’ll clone it:
Slackware Clone
In the VirtualBox VM Manager right-click on the Slackware VM and select Clone from the drop-down menu
Clone type
Select Full clone and click Clone
Show in Explorer
Right-click on the newly created clone and select Show in Explorer from the drop-down menu
Slackware Clone VDI
Drag and drop the Slackware Clone.vdi onto your desktop
Slackware Clone Delete
Now that we’ve got our cloned VDI, right-click on the Slackware Clone VM in the VirtualBox VM Manager and select Remove from the drop-down menu and then select Delete all files from the combobox
Now rename the Slackware Clone.vdi on the desktop to something more appropriate, like LFS.vdi (we’ll attach it to our VM after we get our Slackware host installed.
Continue Installing the Host OS (Part 3)
1 2 3 4 5 6