Installing the Host OS (Part 1)
Click on the green Start arrow in the VM Manager toolbar to start the new VM:
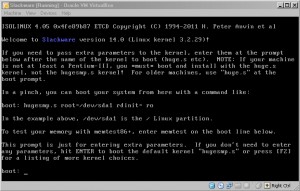
Press Enter to continue
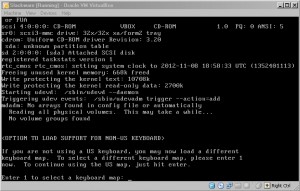
Select your keyboard map
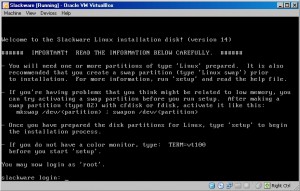
Login as root (just type root and press Enter)
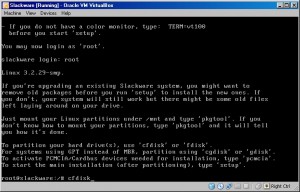
Type cfdisk and press Enter
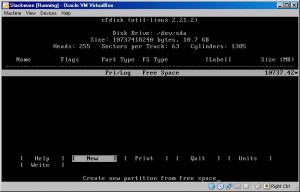
Select New
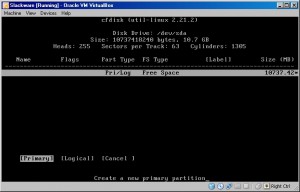
Select Primary
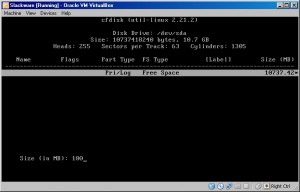
Create a 100 MB primary boot partition at the beginning of the disk
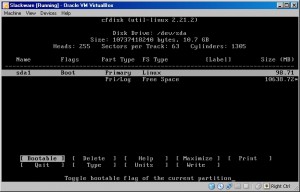
Make sure to set the boot flag for the sda1 partition
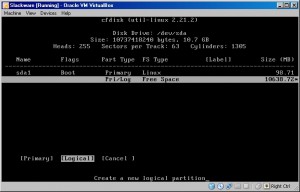
Arrow down to select the Free Space and select New and then Logical
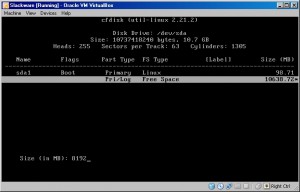
Enter 8192 MB to create an 8 GB partition for /
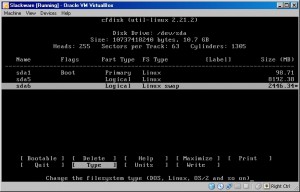
Select the last of the free space and make a logical disk using the remaining space…change the type to 82 (Linux swap)
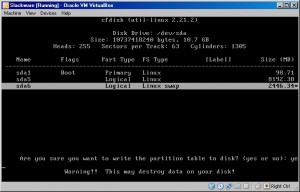
Select Write to make the changes permanent and then select Quit
Initialize the swap partition:
mkswap /dev/sda6
Format all other partitions (ext3):
mke2fs -jv /dev/sda1
mke2fs -jv /dev/sda5
Label the partitons:
e2label /dev/sda1 boot
e2label /dev/sda5 slack
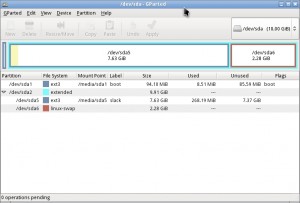
A look at our final Slackware host partitioning scheme in GParted…become familiar with this because we’re going to use it for the LFS drive later.
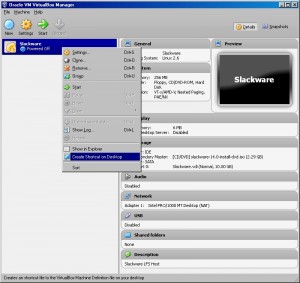
At this point it would be a good idea to create a shortcut to our VM so we don’t have to always open the VirtualBox VM Manager just to start up our Slackware LFS host…simply right click on our VM and send it to the Desktop as shown below:
Continue Installing the Host OS (Part 2)